Blog · By The Packaging Vista Team · June 20, 2026
Free Dieline Templates: Box Dieline Guide & Specs
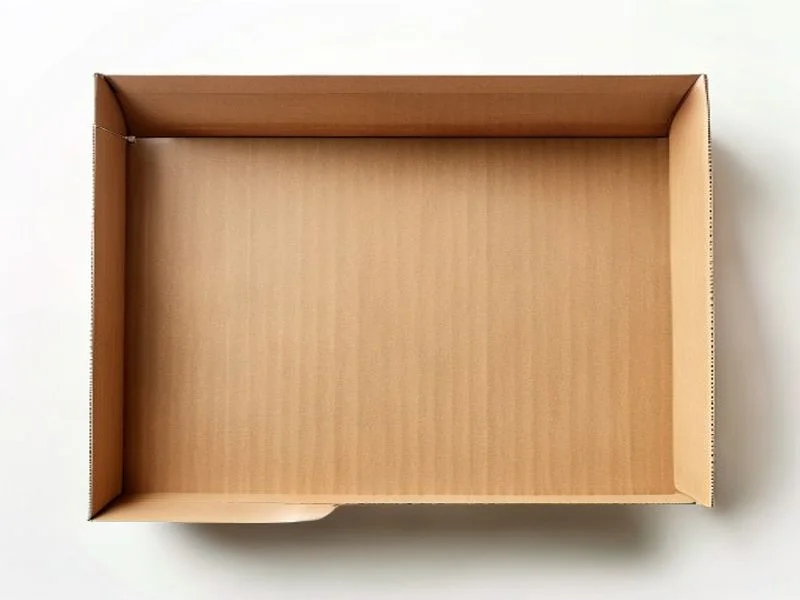
A dieline template is the flat blueprint of your box. Every cut, fold, score, and glue line is marked. You design your art on top of it.
This is a free, practical dieline templates reference. It covers the line rules, what a press-ready template must include, and the dieline behind each common box style. Prefer to skip the DIY part? We build a free custom dieline template, sized to your exact product, for every order. It goes deeper than our main artwork and dieline guide.
What does a dieline do?
A dieline serves two audiences at once. For the cutting machine, it is a precise set of steps. Where to slice the board. Where to crease it so it folds clean. And where to leave glue tabs.
For your designer, it is a map. It shows which part of the flat sheet becomes the front, the lid, the sides, and the bottom once the box is built. Design your art without a dieline and you risk a logo that lands on a fold or text that gets trimmed off at the edge. Design on top of a correct dieline and your art wraps the finished box exactly as planned.
It helps to picture how the flat blueprint becomes a 3D object. Picture the dieline laid out on a table as a single connected outline. A cross or an unfolded fan of panels, based on the box style. Each panel is a face of the finished box. One becomes the front you see on a shelf. One becomes the lid. Others become the sides and the bottom.
The fold lines are the hinges the flat sheet bends along. The glue tabs are the small flaps that vanish inside the built box where they bond one panel to another. When the machine cuts the outline, creases the folds, and the box is glued and popped open, every panel rotates into place.
Grasping this map is the whole point of doing packaging design on a dieline. A graphic that looks centered on the flat sheet may end up wrapping around a corner or sitting upside down on the finished box if you ignore how the panels fold once custom printing is done.
This is also why a dieline is specific to one box and one product. The same tuck-end carton scaled to a taller, narrower product makes a different flat outline. Longer side panels. Re-placed fold lines.
You cannot borrow a template from an unrelated job and stretch it to fit. The folds and tabs will land in the wrong places. A correct dieline is drawn to the exact length, width, and height of what goes inside. That is exactly why we build a fresh one for every order rather than hand out a generic shape.
What is the dieline line legend?
Dielines use steady line rules. So a cutting machine — and your designer — read them the same way:
These rules are not just decoration. The cutting machine, or the digital cutting table, reads the vector paths and treats each line type as a different step. Fully sever here. Only crease there. Leave this flap for glue.
That is why the dieline must be built from clean vector lines rather than a picture of lines. A photo or a flattened image has no separate paths for the machine to follow. If cut and crease lines are mixed on the same layer or drawn in the same color, the gear cannot tell which is which.
A fold line can be cut clean through by mistake. Keeping the legend steady is what lets a file move from your screen to the press without anyone guessing at your intent.
| Element | What it marks | Typical convention |
|---|---|---|
| Cut line | the outer trim, where the box is cut | solid line (often magenta) |
| Crease / fold | where panels fold | dashed line (often green or blue) |
| Score / perforation | a partial cut for a fold or tear strip | dotted line |
| Glue tab | where panels are bonded together | shaded or hatched area |
| Bleed | art that extends past the cut so no white edges show | 1/8 inch (3mm) beyond the cut line |
| Safe zone | keep text and logos inside this margin | 1/8 to 1/4 inch inside the cut |
What must a press-ready dieline template include?
- Vector, not raster - an AI, EPS, or PDF file, never a flattened JPG or PNG (see vector vs. raster).
- The dieline on its own non-printing layer (or a named spot color), with your artwork on a separate layer beneath it.
- Built at 100% scale in CMYK color.
- 1/8 inch (3mm) bleed beyond every cut edge, and a safe zone 1/8 to 1/4 inch inside - see bleed & safe zone.
- Fonts outlined and images embedded so nothing shifts or reflows at press.
Why do bleed and the safe zone matter?
The two most common reasons a print job comes back wrong: missing bleed, and text crammed against the edge.
Cutting is never perfect to the thousandth of an inch. So art that stops exactly at the cut line can leave a thin white sliver when the trim drifts. Extending color and background 1/8 inch past the cut — the bleed — makes sure of a clean edge no matter how the trim falls.
The safe zone is the mirror image. Keep logos, text, and anything you cannot afford to lose at least 1/8 inch inside the cut. So a drifting trim never clips them. Our bleed and safe zone guide walks through both with examples.
What are the dieline templates by box style?
Each box style has its own flat shape. Ask for a free template for any of these, sized to your product:
| Box style | Dieline shape (flat) | Get this style |
|---|---|---|
| Straight / reverse tuck-end carton | single panel run with top & bottom tuck flaps | custom tuck-end carton boxes |
| Mailer (roll-end tuck) | one piece with self-locking side wings & a front tuck | self-locking custom mailer boxes |
| Sleeve | a printed band that wraps a tray or inner carton | printed custom sleeve boxes |
| Two-piece rigid (lid & base) | separate lid and base wraps over chipboard | two-piece custom rigid boxes |
| Pillow box | a single panel with curved end tabs | custom printed pillow boxes |
| Gable box | a handled top formed by angled gable panels | handled custom gable boxes |
| Auto-bottom / custom die-cut | a locking bottom or a bespoke silhouette | custom die-cut box shapes |
| Folding carton | a flat carton blank with tuck or glue closure | custom folding carton boxes |
How do you design artwork on a dieline?
Once you have the template, the workflow is steady. Place the dieline on a locked top layer so you can always see the cuts and folds. Build your art on a layer beneath it.
Treat each panel as its own layout. The front gets the hero art. Side panels carry ingredients or directions. The bottom holds the barcode and legal copy. Run background color and any full-bleed images out to the bleed line. Pull text in to the safe zone.
When you are done, outline your fonts and embed your images so nothing reflows on press. If any of that is new, our free design team can handle it. You supply the logo and we build the file.
A few habits set apart a smooth print run from a rough one. Always keep the dieline on its own layer. Set it to a non-printing color or an overprinting spot color. So the cut and fold guides are visible while you work but never print on the box. Turn off or delete any leftover notes before you export.
Double-check that your background truly reaches the bleed line on every edge. A gap of even a millimeter can reappear as a white line after trimming. Confirm that small but key parts — a barcode, a batch number, ruled text — sit safely inside the safe zone rather than flirting with the cut.
When the design is final, flatten your art layer, outline the fonts, and embed every image. So the file looks the same on our system as it does on yours.
Beginners often worry about owning pro design software. But you do not need it to get a correct file. If you are at home in a vector program, you can design right on the template we send.
If you are not, send us your logo and a short note of what each panel should say. Our design team builds the art on the dieline for you at no charge. Either way you get a digital proof to review. Plus a 3D mockup that shows the flat design wrapped onto the finished box. So you can catch a misplaced graphic before anything is printed, not after.
Why does measuring come first?
A dieline is only right if the sizes are. The most vital input is an exact measurement of your product. The template is built around it. Too tight and the box will not close. Too loose and the product rattles and the box ships oversized.
Measure length, width, and height of the actual product before asking for a template. Our how to measure for a custom box guide shows the right way to do it. Send us those numbers and we size the dieline to fit.
What file formats do you need, in plain terms?
The word “vector” trips up a lot of first-time buyers. So here is the short version. A vector file stores your design as math paths — lines and curves set by points. That means it can be scaled to any size, from a wallet-sized carton to a shipping box, without ever going blurry.
A raster file, like a JPG or PNG, stores the design as a fixed grid of colored pixels. So blowing it up makes the edges soft and pixelated. Dielines and box art are printed sharp at full size. That is why they must be vector. The common vector formats for packaging are AI (Adobe Illustrator’s native file), EPS, and press-ready PDF.
Any of these can hold your art and the dieline together on separate layers.
When we send your free dieline, it arrives as a PDF or AI file. The blueprint is on its own non-printing layer, built at full scale in CMYK, and ready for you to design beneath it.
If you send art back to us, a layered PDF or AI is ideal. If all you have is a logo saved as a PNG or JPG, that is still fine as a start. Just tell us. Our team will rebuild or place it right so the final press file is fully vector. The goal is that nothing on the finished box was ever stretched from a low-res image. That is one of the few things that cannot be fixed at the print stage.
Frequently asked questions
Do I have to make my own dieline?
No. We build a free, print-ready dieline template sized to your exact product for every order, with no die or plate fees. You only need the DIY details above if you want to design on it yourself.
What file format will my dieline come in?
PDF or AI - a vector file you can design on directly, with the dieline on its own non-printing layer.
What is the difference between a cut line and a crease line?
A cut line is where the board is fully sliced, including the outer trim. A crease (or fold) line is only scored so the panel bends cleanly without tearing.
How much bleed do I need?
1/8 inch (3mm) beyond every cut edge, with text and logos kept 1/8 to 1/4 inch inside the cut in the safe zone.
How do I choose the right dieline template for my box style?
Match template to structure. A reverse or straight tuck-end template fits everyday retail cartons. A mailer (roll-end tuck) template fits DTC shipping boxes. A two-piece lid-and-base template fits rigid gift boxes. A sleeve template fits over an inner tray.
Every style has a different fold and glue-tab layout, so you can’t borrow one from an unrelated job – the tabs will land wrong. Tell us the box style; we send the right one sized to your exact product.
What are the benefits of designing on a proper dieline template?
Four main ones: folds and glue tabs land where they should, so the box locks square instead of skewing; bleed and safe zones are pre-marked so trim drift doesn’t clip your logo; the file is press-ready with a non-printing layer for cut and crease marks; and you can proof the whole layout (both faces plus tuck flaps) in one flat file.
Skip the template and you often reprint the run when panels don’t align.
Which file format is best for sending back finished artwork?
A layered vector PDF or Adobe Illustrator (.ai) file with the dieline on its own non-printing layer – that’s what our production expects and what our proofing checks against. Fonts should be outlined, images embedded at 300 DPI or higher (350 preferred), and the color mode CMYK with any Pantone spots called out.
If all you have is a logo as PNG or JPG, send it anyway and we’ll rebuild on the dieline as vector.
Is using a custom dieline worth it over grabbing a stock template online?
Yes for any custom box order. A stock template online is sized to a generic box – if your product isn’t that exact size, the tuck flaps rattle or won’t close, the box is bulky or crushes on the product. A custom dieline is drawn to your exact L × W × H so the box locks square.
At Packaging Vista the custom dieline is free with every order (no die or plate fees), so there’s no cost reason to use a stock template.
Related reading from OLX Packaging: what a dieline is in packaging.
You do not need to find or build a template. Tell us your product and box style, and we will send a free, print-ready dieline template (PDF or AI) sized to fit your exact custom printed boxes and cartons - with no die or plate fees - followed by a digital proof and 3D mockup before anything prints. Start with our artwork guide, then request your free dieline or contact our team.
Part of our custom box printing guide — the pillar reference for every custom box printing topic on this blog.